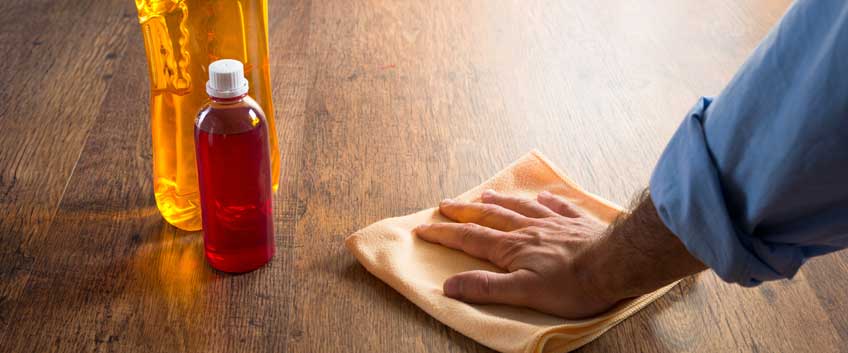
Hardwood floors offer timeless beauty and a unique style many fall heels overhead for! It is really easy to see and understand why so many people want to have hardwood flooring installed in their homes or workplaces, starting with their natural durability, hard-wearing nature and long-lasting power to their natural elegance, beautiful appearance and easy-to-maintain nature.
Considering all the benefits a hardwood floor can offer, you can practically find one installed in almost any European home and this is not something that has happened in the last few years, because hardwood has been in for many decades already. With such a vivid past, we can guess that many wooden floors can be called old in years and probably aged in appearance. Every owner of a hardwood installation would know that a floor needs regular and correct maintenance and cleaning as well as a few professional sanding and refinishing services now and then, so it can look brand new and just installed even years after the initial laying of the boards.
The good news is that refinishing and sanding can happen up to 7 times in the lifecycle of real wood flooring, depending on the original thickness of the wooden boards. With that being said, you can have a brand new-looking floor up to 7 times in many decades, without spending a big amount on a new floor. Still, the older your wooden floor gets, the harder it will be to improve its appearance and condition. So, today’s question is – how to treat, re-sand and re-finish an old hardwood floor? Here is how the entire process of improvement would look like delivered by professionals:
Cleaning
First things first, start with cleaning. Old wood floors can be in a really bad condition, you can find them cracking, stained, having swirls of paint, being extra dirty and with a worn and dirty finish, you name it! Have no fear! Start with vacuuming up thoroughly, but if this is not enough, you will need a mop and a specially designed hardwood cleaning product. The basic idea is to remove all the dust and grime before sanding.
Sanding
The way to go with old, aged or beaten-up flooring is a drum sander that will reveal the full potential of the wooden boards and their natural beauty. This type of sander will get right to the bare wood, and remove any old stains, finishes and else. You may need to use an edge sander additionally for the edges of the floor.
Staining
Because the wood’s natural texture and colour are always highly desired and preferred, a simple layer of varnish or lacquer will easily enhance this natural beauty. However, there are also many options for changing the original colour of the wood species and if the hardwood boards are really old and knackered, staining could be a better option.
Sealing
Right after sanding and staining, it is time for sealing – a highly important process of application of protective sealant that will prevent feature wear and tear and other issues. Be sure to clean the floor thoroughly before sealing, because specks of dirt show up very obviously in the finish and will occur the entire appearance.